How To Make A Gallery Wall
A practical step-by-step guide to how to make a gallery wall, including preparation, instructions, common issues, tips, and next steps.
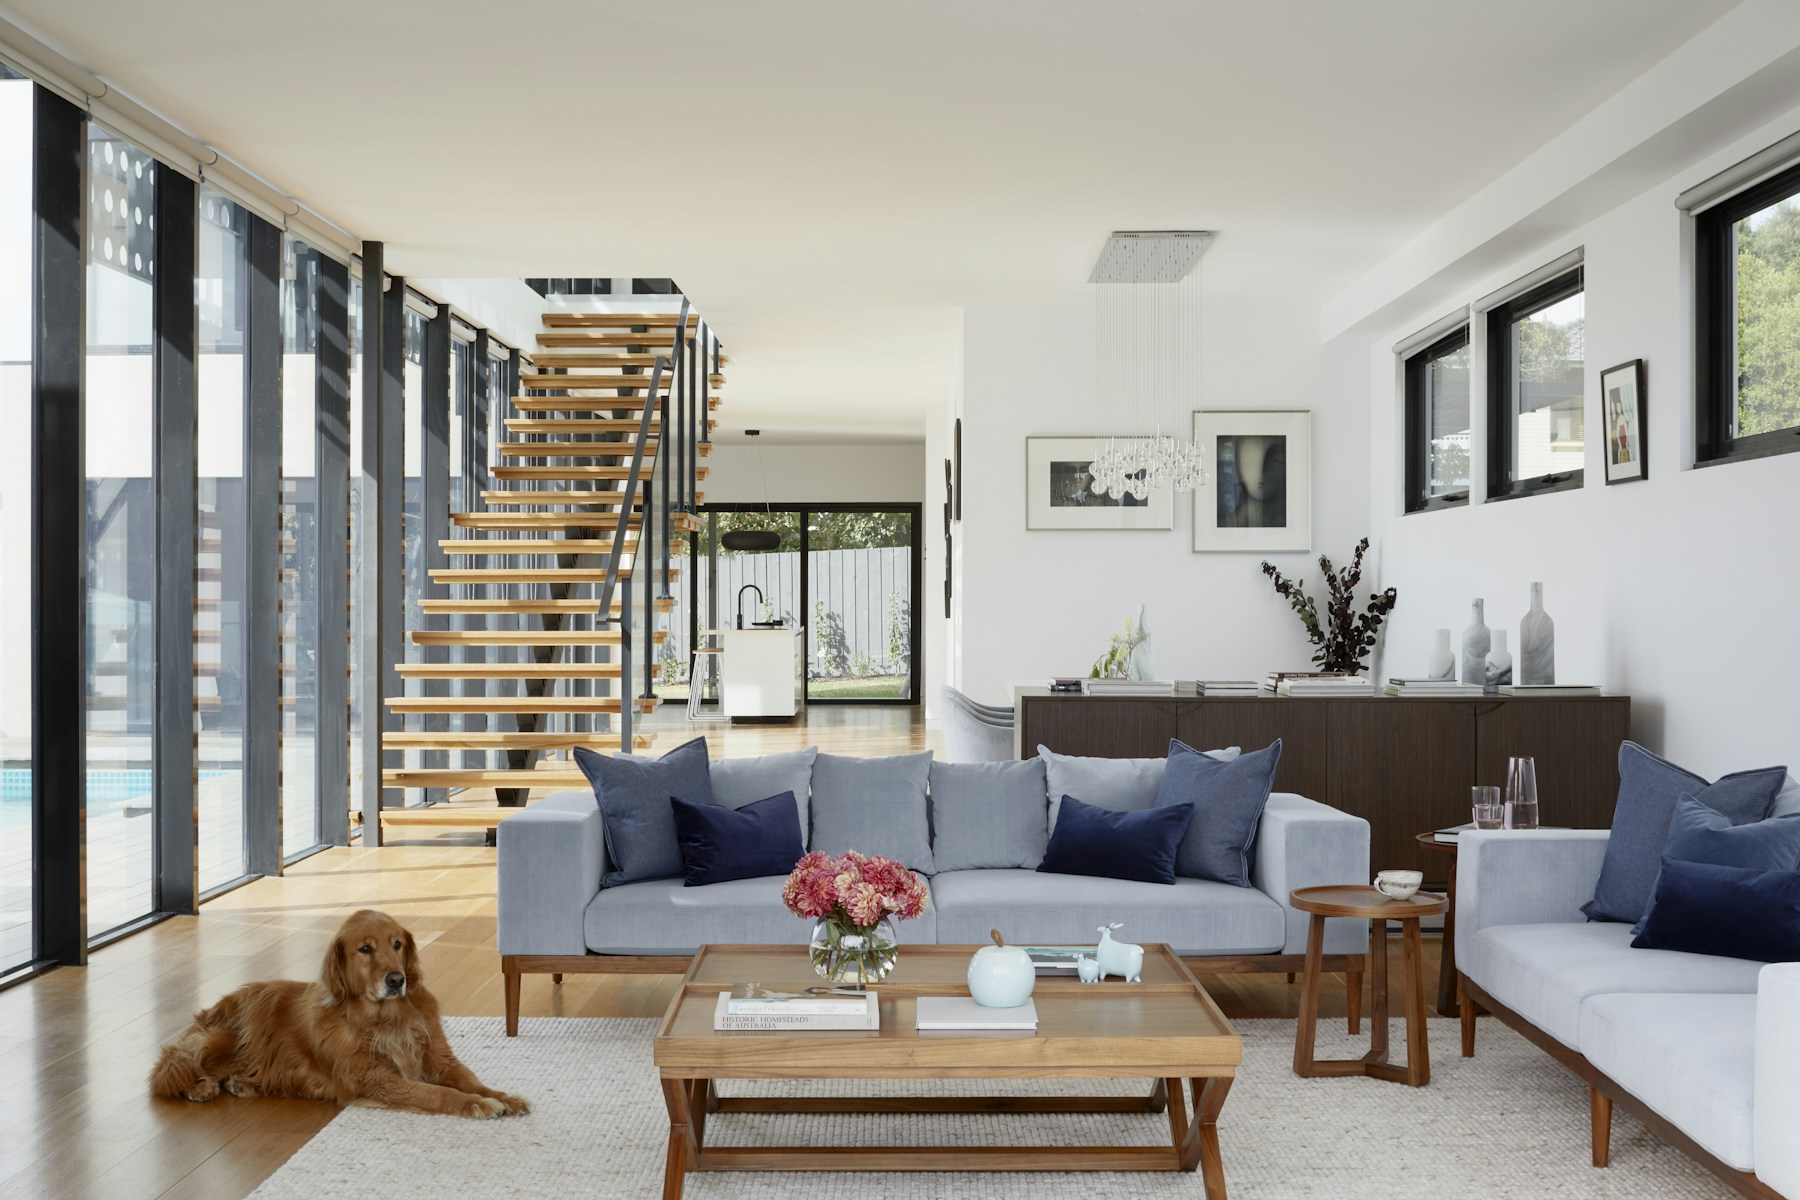
How To Make A Gallery Wall
Making a gallery wall means arranging and hanging a collection of pictures, art, or objects together on one wall to create a striking visual display. This guide will walk you through planning your layout on the floor, creating paper templates for easy placement, securely hanging your items, and adjusting them for a polished look. You’ll learn how to transform a plain wall into a personalised feature, avoiding common pitfalls like uneven spacing or wall damage. This guide is helpful for anyone looking to create an impactful and cohesive display in their home.
Fast Answer
- Planning & Layout: 1-2 hours
- Hanging & Adjusting: 1-3 hours
- Difficulty: Easy-Medium
Before You Start
- Collection of items: Picture frames, artwork, photographs, mirrors, or small decorative objects.
- Measuring tape: For accurate measurements.
- Pencil: For marking on paper and walls.
- Spirit level: Essential for ensuring frames are straight.
- Masking tape: To secure paper templates to the wall without damaging paint.
- Large sheets of paper or cardboard: Old wrapping paper, newspaper, or brown craft paper work well for templates.
- Scissors: To cut out paper templates.
- Hammer: If using nails or traditional picture hooks.
- Drill and appropriate drill bits: If using wall plugs and screws (e.g., for heavier items or plasterboard walls).
- Picture hanging hooks, nails, or wall plugs/screws: Choose fixings suitable for the weight of your items and your wall type (e.g., plasterboard fixings for hollow walls, masonry drill bits and plugs for brick/concrete).
- Stud finder (optional but recommended): To locate studs if hanging very heavy items or if you want to avoid hitting pipes or electrical wires.
- Decorator's filler and paint (optional): For repairing any mistakes or old holes.
Step-by-Step Instructions
1. Gather and Prepare Your Items
Before you begin any physical work on your wall, collect all the items you plan to include in your gallery. This could be a mix of framed photos, art prints, canvases, small mirrors, or even decorative plates. Lay them all out on a large flat surface, like your dining table or the floor, so you can see everything you're working with. Clean the frames and glass, and ensure all your chosen artwork or photos are properly inserted and secure within their frames. Check that all frames have suitable hanging mechanisms on the back – D-rings, wire, sawtooth hangers, or keyholes. If any are missing or damaged, repair or add new ones now.
2. Plan Your Layout on the Floor
This is arguably the most crucial step and will save you a lot of hassle and wall damage later. Clear a large area on your floor, ideally one that's roughly the same size as the wall space you intend to use. Start arranging your frames and objects on the floor, experimenting with different configurations. Begin with a central or anchor piece, often the largest or most important item, and build around it. Try to balance the visual weight of the collection, spreading out larger items and darker colours. Think about the spacing between items – aim for a consistent gap, usually between 5cm and 10cm, but you can vary this slightly for different effects. Take photos of layouts you like so you can compare them later.
3. Create Paper Templates
Once you have a layout you're happy with on the floor, it's time to make paper templates. For each frame or object, trace its outline onto a sheet of paper or cardboard. Cut out each template. This template will represent the exact size of your item. Now, here's a critical part: for each template, mark exactly where the hanging point is on the back of the actual frame. For example, if your frame has a sawtooth hanger, measure from the top of the frame down to the hanger's lowest point, and mark that spot on your paper template. If it uses a wire, pull the wire taut and measure the lowest point it reaches when the frame is held up, then mark that on your template. This mark indicates where your nail or hook needs to go into the wall.
4. Test Your Layout on the Wall
With your paper templates ready, transfer your floor layout to the wall using masking tape. Start with your central piece and tape its template to the wall at the desired height. A good general rule is to position the centre of your overall gallery wall at eye level, which is typically around 145cm to 155cm (57-61 inches) from the floor. Then, tape up the surrounding templates, mimicking the spacing and arrangement you perfected on the floor. Step back frequently to view the entire arrangement from a distance. Make any necessary adjustments to spacing or positioning. This is your chance to make mistakes with tape, not holes! Use your spirit level to ensure templates are straight and adjust until you are completely satisfied with the visual balance.
5. Mark and Prepare Hanging Points
Once your paper templates are perfectly positioned on the wall, it's time to mark where your fixings will go. On each paper template, you will have already marked the exact hanging point for that specific frame. Carefully use a pencil to make a small, clear mark on the wall directly through that point on the template. Before removing the templates, double-check that every hanging point is marked. Now, carefully peel off all the masking tape and paper templates. You should be left with a series of pencil marks on the wall, indicating exactly where each nail or screw needs to be placed. Before drilling or hammering, you might want to use a stud finder around these marks if you suspect pipes or wires, or if you're using heavy fixings.
6. Install Fixings and Hang Your Frames
Now, carefully install your chosen wall fixings at each marked pencil spot. If you're using nails and picture hooks, gently hammer the nail into the wall at the marked point, ensuring the hook faces upwards and is secure. For heavier items or plasterboard walls, you'll need to drill pilot holes first, insert wall plugs (if required by your wall type), and then screw in your chosen hooks or screws. Make sure each fixing is robust enough to hold the weight of its respective frame. Once all fixings are in place, begin hanging your frames, starting with your central piece again. Work outwards, carefully lifting each frame onto its designated hook or screw. Take your time to ensure each frame is securely seated on its fixing.
7. Level and Adjust Your Gallery Wall
Once all your frames are on the wall, step back and admire your handiwork. Now comes the final polish. Use your spirit level to check that each individual frame is perfectly straight. If a frame is slightly off, gently adjust it on its hook. Sometimes, small pieces of Blu-Tack or a similar adhesive putty can be placed discreetly on the bottom corners of lighter frames to keep them from shifting or becoming crooked over time, especially in high-traffic areas or if doors close nearby. Finally, remove any visible pencil marks from the wall using a soft eraser, being careful not to smudge the paint. If you notice any small holes from misplaced fixings, now is the time to fill them with decorator's filler and touch up with paint.
Quick Reference
| Situation | Use this | Why |
|---|---|---|
| Unsure about layout | Plan on the floor first with all items | Avoids unnecessary holes and allows for easy experimentation. |
| Worried about wall damage | Use paper templates and masking tape | Lets you perfect placement without touching the wall with fixings until the final step. |
| Frames keep shifting/going crooked | A small piece of Blu-Tack on bottom corners | Provides a gentle grip to the wall, holding frames in place, especially useful for lighter items. |
| Need consistent spacing | Cut a cardboard spacer (e.g., 5cm) | Ensures uniform gaps between frames, contributing to a cohesive look. |
Common Problems When Making A Gallery Wall
Uneven Spacing Between Frames
One of the most common issues is inconsistent gaps between your frames, which can make a gallery wall look messy rather than cohesive. This usually happens when measurements are rushed or estimated by eye. To fix this, if you're still at the templating stage, use a ruler to measure the gaps between your paper templates on the wall and adjust them. If frames are already hung, you may need to carefully reposition some fixings. Use a small pre-cut cardboard spacer (e.g., 7cm wide) as a consistent reference when you're taping templates or adjusting hung frames. This simple tool ensures all your frames have the same amount of breathing room.
Frames Not Level
A slightly crooked frame can really detract from the overall impact of your gallery wall. This often occurs if the hanging point wasn't marked precisely or if the hook itself wasn't installed perfectly straight. Always use a good quality spirit level. When hanging, place the level on the top edge of each frame as you put it up. If it's not level, gently adjust it. For frames that repeatedly go crooked, especially lightweight ones, a small blob of Blu-Tack or similar adhesive putty on the bottom corners, pressed against the wall, can keep them firmly in place.
Too Many Holes in the Wall
Trying to arrange frames directly on the wall often leads to multiple drill holes or nail marks from trial and error. This is precisely why the paper template method is so important. If you find yourself with several unwanted holes, don't despair. Use a small amount of decorator's filler to patch the holes. Apply the filler with a putty knife, smooth it flat, let it dry, sand it lightly, and then touch up with matching paint. Always keep a small pot of your wall paint for these kinds of minor repairs.
Gallery Wall Feels Overly Cluttered or Sparse
Sometimes, once everything is on the wall, the display can feel either too busy with too many items packed together, or too spread out and empty. This is a design issue, rather than a practical hanging problem. The best way to address this is by revisiting step 2: the floor layout. Take everything down (if already hung) and rearrange on the floor. Take photos of various layouts. Consider removing one or two items if it feels too cluttered, or adding a smaller piece or two if it's too sparse. Alternatively, adjust the overall 'boundary' of your gallery wall, making it slightly larger or smaller on the wall using your paper templates.
Advanced Tips for Making A Gallery Wall
Mix Textures and Materials
To give your gallery wall a truly professional and curated look, don't limit yourself to just framed prints. Introduce different textures and materials. This could mean incorporating a small woven wall hanging, a metallic decorative object, a framed mirror, or even a tiny wall-mounted shelf with a small plant. The variety adds depth and interest, making the wall feel more dynamic and less like a uniform collection of rectangles. Consider mixing frame materials too – a blend of wood, metal, and painted frames can be very effective.
Create a Themed or Colour-Coordinated Wall
While an eclectic mix is popular, a strong theme or colour palette can create a powerful visual statement. You could choose all black and white photography, a collection of botanical prints, or only art with specific shades like blues and greens. This approach helps to unify disparate pieces and provides a clear aesthetic direction. Even if your subject matter varies, sticking to a specific colour scheme (e.g., all frames are white, or all artwork has a yellow accent) provides cohesion.
Incorporate Lighting
Good lighting can dramatically enhance your gallery wall. Consider adding dedicated picture lights above certain key pieces or across the top of the entire display. These are small, directional lights designed to illuminate artwork, drawing the eye and highlighting details. For a more subtle effect, general room lighting should be sufficient, but task-specific lighting elevates the display to a museum-like quality. Battery-operated picture lights are an easy-to-install option if you don't want to deal with wiring.
Use a Central Anchor Piece
As mentioned in the planning stages, starting with a central anchor piece can be very effective. This is often the largest, most visually striking, or most personally significant item in your collection. By positioning this piece first, you create a focal point and a natural starting point around which to build the rest of your gallery. This makes the arrangement feel more intentional and less random, guiding the viewer's eye through the collection.
Vary Frame Styles and Sizes
While a uniform look can be elegant, mixing frame styles and sizes adds character and prevents the wall from looking too 'matchy-matchy'. Combine ornate vintage frames with sleek modern ones, thick wooden frames with slim metallic borders. Similarly, use a range of sizes, from very small (e.g., A6) to quite large (e.g., A2 or A1), to create visual rhythm. The key is to ensure the overall arrangement still feels balanced, rather than chaotic.
How To Make A Gallery Wall FAQ
How high should I hang my gallery wall?
A good general rule is to have the centre of your overall gallery wall at eye level for an average person. This usually means the midpoint of the entire arrangement should be about 145cm to 155cm (57-61 inches) from the floor. If hanging above furniture, ensure there's enough space (typically 15-20cm) between the top of the furniture and the bottom of the lowest frame.
Can I mix different types of art or photos?
Absolutely! Mixing different types of art, photographs, illustrations, and even mirrors creates a much more interesting and personal gallery wall. The key is to find a common thread, whether it's a shared colour palette, a specific theme (e.g., travel, nature), or a consistent frame style, to tie everything together and prevent it from looking random.
What's the best way to hang frames on plasterboard walls?
For plasterboard walls, it's essential to use appropriate fixings. Lightweight frames can often be held by small plasterboard picture hooks or adhesive strips designed for pictures. For heavier frames or larger items, you'll need specific plasterboard wall plugs (e.g., self-drilling metal anchors or toggle bolts) and screws. Always check the weight rating of your chosen fixing against the weight of your item.
How far apart should frames be in a gallery wall?
There's no strict rule, but a consistent spacing of 5cm to 10cm (2-4 inches) between frames is a good starting point. Smaller gaps can create a more dense, cohesive feel, while larger gaps give each piece more breathing room. The most important thing is consistency, so use your measuring tape or a pre-cut spacer.
Do all frames need to be the same colour or style?
No, not at all! While a uniform frame colour (like all black or all white) can create a sleek and modern look, mixing frame colours, styles, and materials adds character and depth. A blend of ornate, rustic, and contemporary frames can be very appealing, as long as the overall arrangement feels balanced.
Final Checklist for How To Make A Gallery Wall
✓ All items for the gallery wall are prepared and clean.
✓ Layout has been carefully planned on the floor and photographed.
✓ Paper templates created for each item, with exact hanging points marked.
✓ Templates taped to the wall, adjusted for optimal spacing and overall shape, and checked with a spirit level.
✓ Wall type identified, and appropriate fixings (nails, hooks, plugs, screws) selected for item weights.
✓ Hanging points accurately marked on the wall using pencil through templates.
✓ Fixings securely installed at marked points.
✓ All frames and objects are carefully hung and securely seated on their fixings.
✓ Each individual frame checked with a spirit level and adjusted for straightness.
✓ All visible pencil marks erased from the wall.
✓ Any accidental holes filled and touched up with paint.
✓ Step back and admire your finished, personal gallery wall!